IMAP vs POP3 - How to Email in the 21st Century

POP is bad. IMAP is good.

Gmail Outlook 2010

Add Your Gmail Account to Outlook 2010 Using IMAP

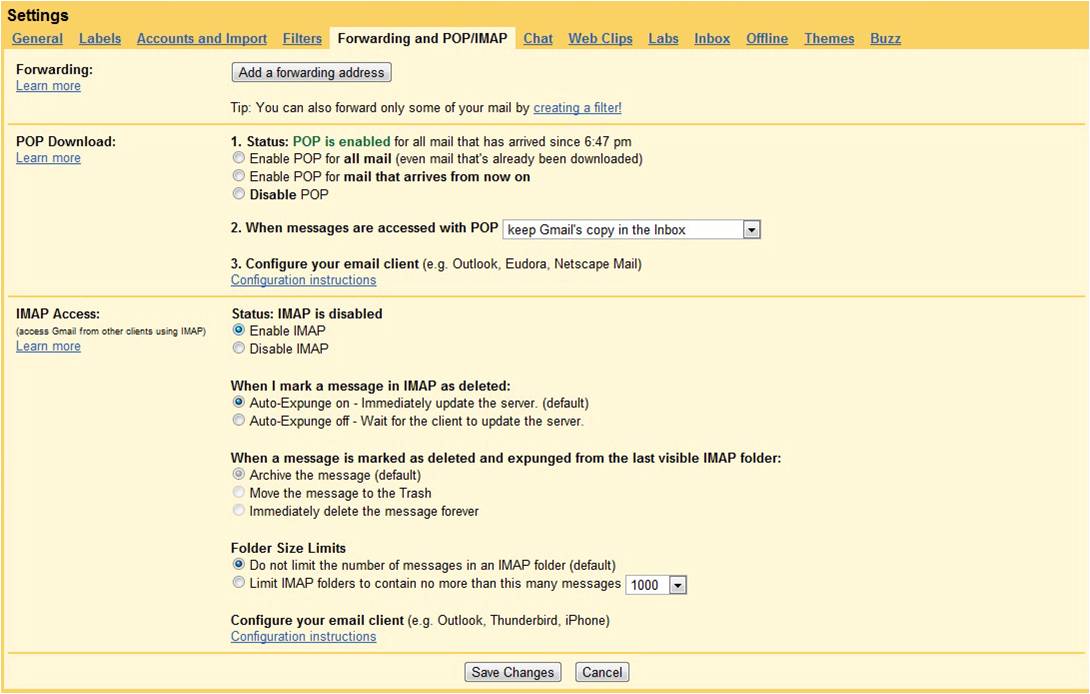
First log into your Gmail account and open the Settings panel. Click on the Forwarding and POP/IMAP tab and verify IMAP is enabled and save changes.

Gmail Outlook 2010 Image1

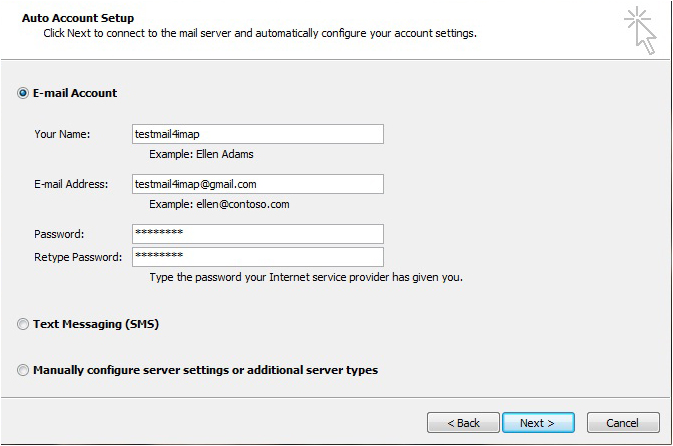
Next open Outlook 2010, click on the next and go to the Add new account window. Enter in your name, email address, and password twice then click Next.

Gmail Outlook 2010 image2

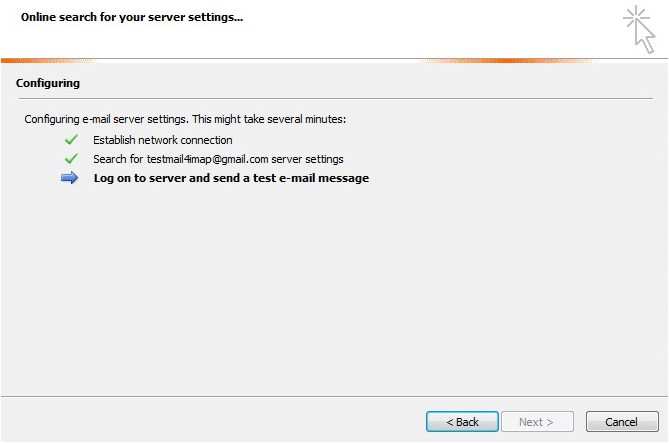
Outlook will configure the email server settings, the amount of time it takes will vary.

Gmail Outlook 2010 image3

Provided everything goes correctly, the configuration will be successful and you can begin using your account.

Gmail Outlook 2010 image4

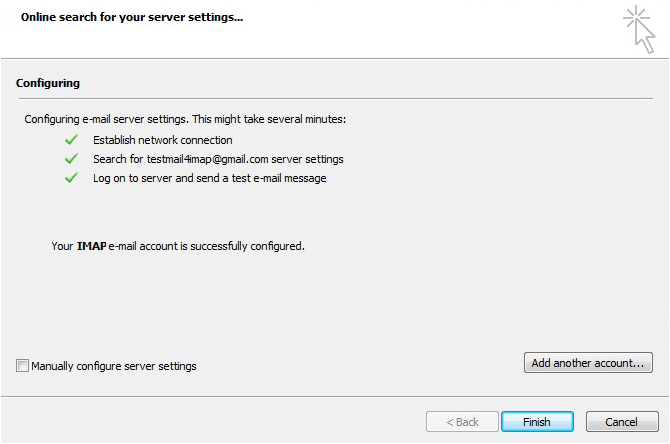
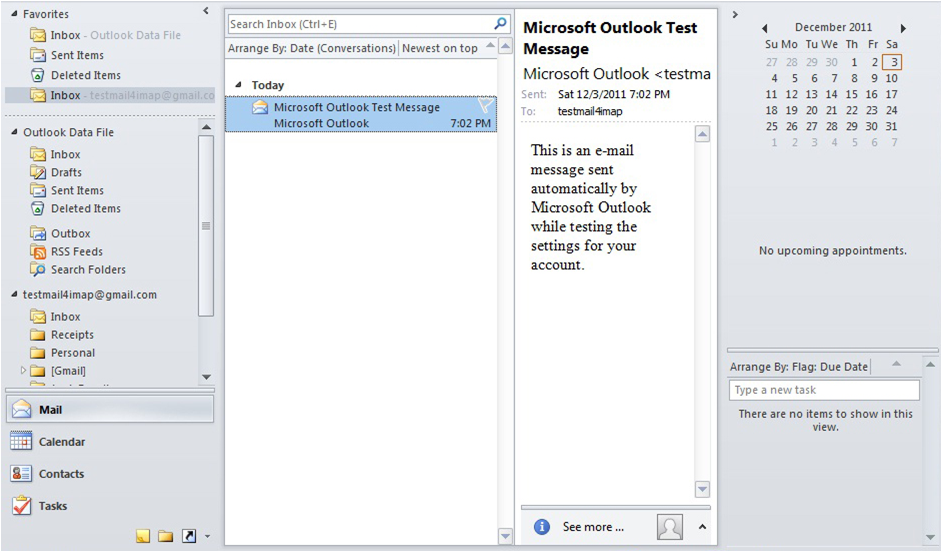
Now you can check your mails from outlook 2010.

Gmail Outlook 2010 image5

Manually Configure IMAP Settings

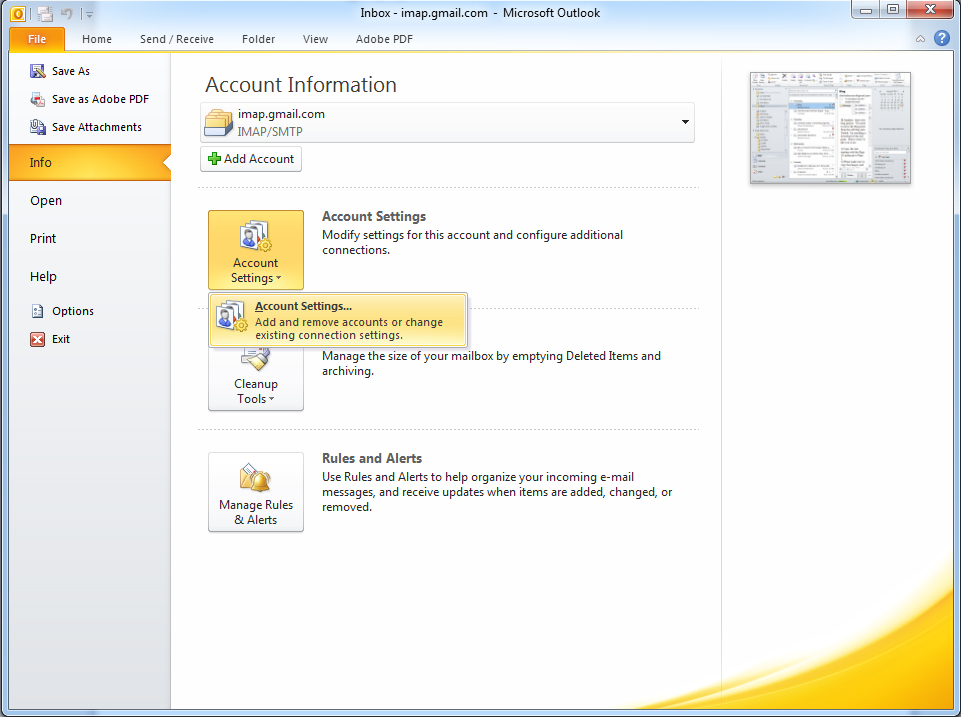
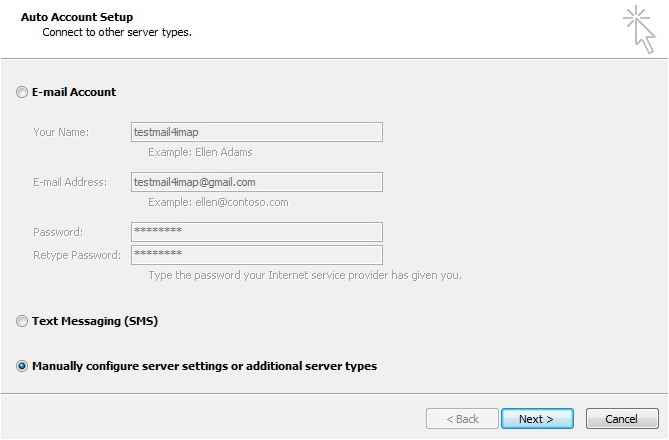
If the above instructions don't work, then we'll need to manually configure the settings. Again, go into Auto Account Setup and select Manually configure server settings or additional server types and click Next.

Gmail Outlook 2010 image6

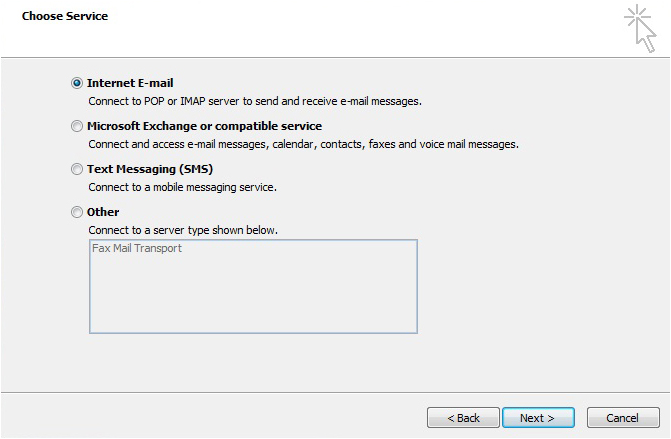
Select Internet E-mail - Connect to POP or IMAP server to send and receive e-mail messages.

Gmail Outlook 2010 image7

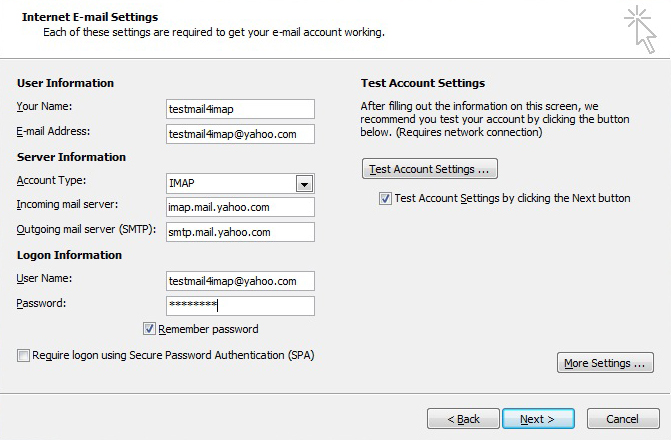
Now we need to manually enter in our settings similar to the following. Under the Server Information section verify the following.

  • Account Type: IMAP
  • Incoming mail server: imap.gmail.com
  • Outgoing mail server (SMTP): smtp.gmail.com

Gmail Outlook 2010 image8

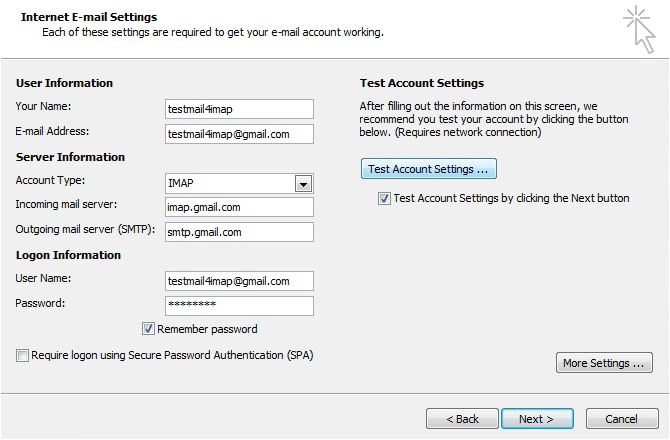
Note: If you have a Google Apps account make sure to put the full email address(user@yourdomain.com) in the Your Name and User Name fields.

Note: If you live outside of the US you might need to use imap.googlemail.com and smtp.googlemail.com

Next, we need to click on the More Settings button.

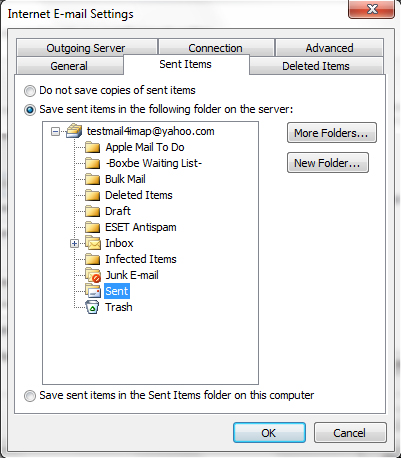
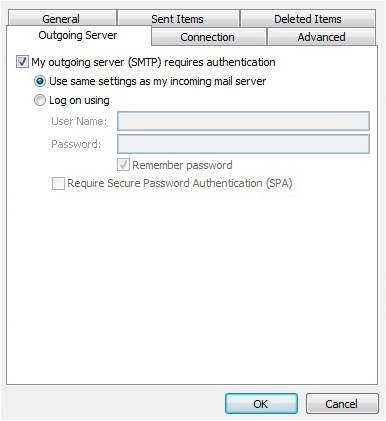
In the Internet E-mail Settings screen that pops up, click on the Outgoing Server tab, and check the box next to My outgoing server (SMTP) requires authentication. Also select the radio button next to Use same settings as my incoming mail server.

Gmail Outlook 2010 image9

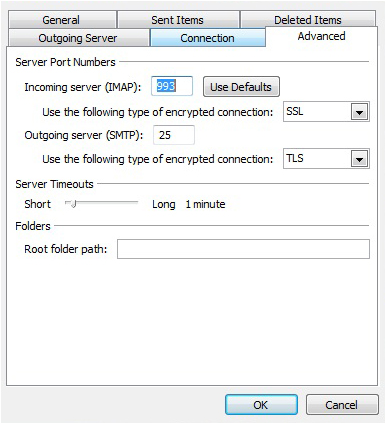
In the same window click on the Advanced tab and verify the following.

  • Incoming server (IMAP): 993 or 143
  • Incoming server encrypted connection: SSL
  • Outgoing server encrypted connection TLS
  • Outgoing server (SMTP): 587 or 465

Click OK when finished.

Gmail Outlook 2010 image10

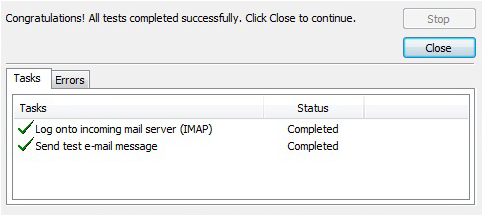
Now we want to test the settings, before continuing on...it's just easier that way in case something was entered incorrectly. To make sure the settings are tested, check the box Test Account Settings by clicking the Next button.

Gmail Outlook 2010 image11

If you've entered everything in correctly, both tasks will be completed successfully and you can close out of the window. and begin using your account via Outlook 2010.

Gmail Outlook 2010 image12

You'll get a final congratulations message you can close out of..

Gmail Outlook 2010 image13

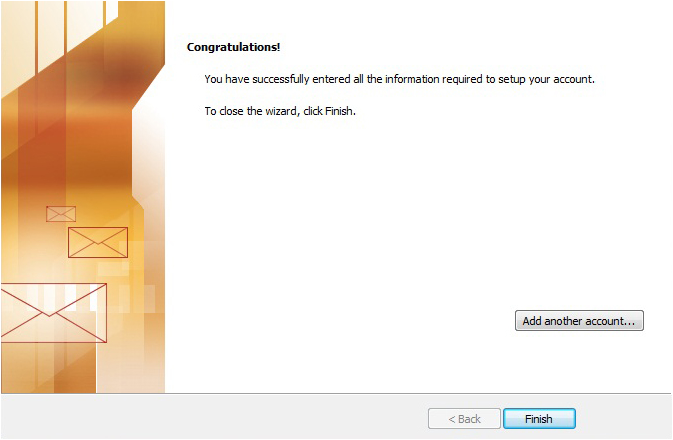
And begin using your account via Outlook 2010.

Gmail Outlook 2010 image14

Import your old POP  account into the newly created IMAP  account

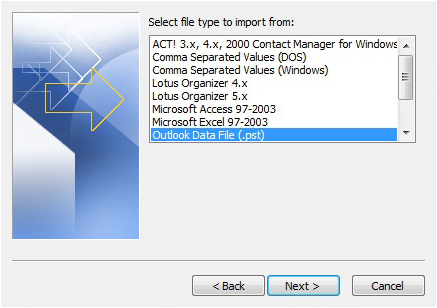
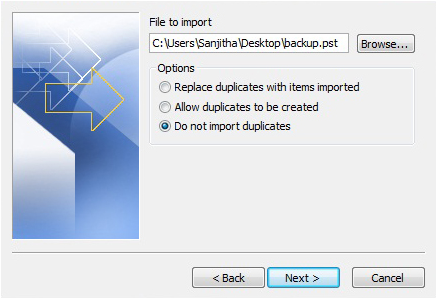
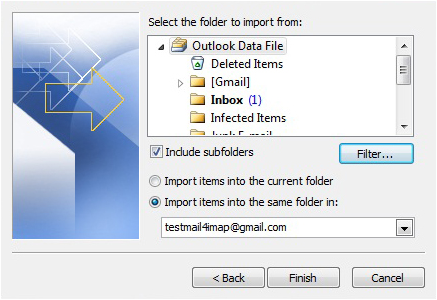
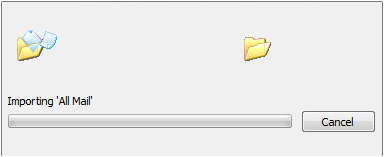
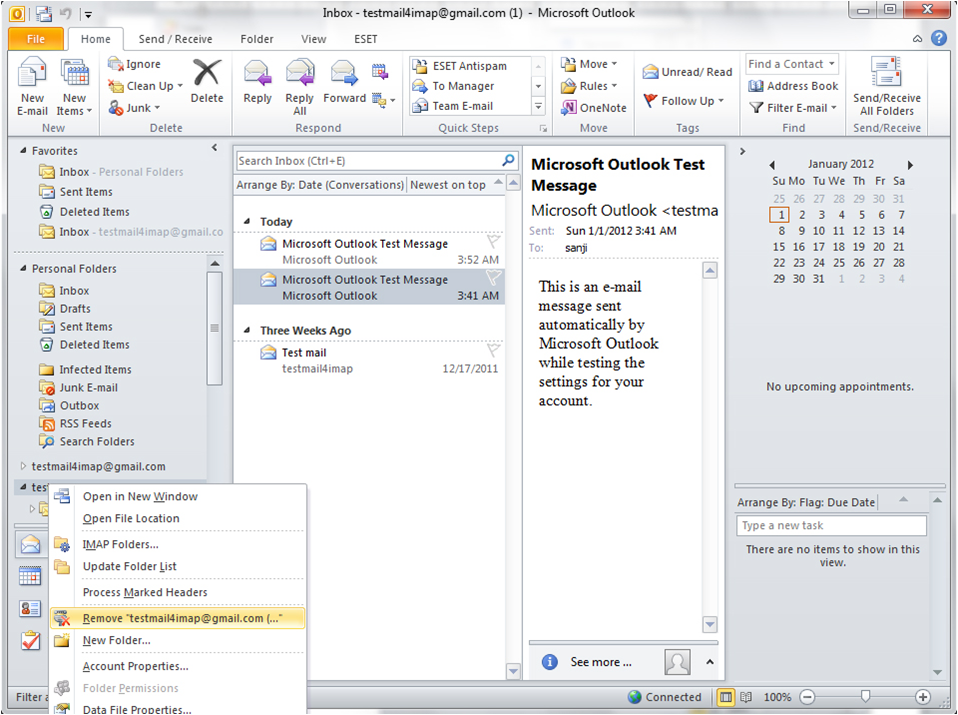
If you currently keep a copy of your mail on the server, then you're done! But if you delete them from the server, then you have to import your old POP mail into your IMAP. Here's how to do it

  • Click the File tab.
  • Click Open.
  • Click Import.
  • In the Import and Export Wizard, click Import from another program or file, and the click Next.
Gmail Outlook 2010 image15
  • Click Outlook Data File (.pst), and then click Next.
Gmail Outlook 2010 image16
  • Click Browse, and then choose the file to import.
  • Under Options, it is recommended that you click Do not import duplicates unless you want the imported information to replace or duplicate items already in Outlook.
Gmail Outlook 2010 image17
  • Click Next.
  • If a password was assigned to the Outlook Data File (.pst), you are prompted to enter the password, and then click OK.
  • Set the options for importing items. The default settings usually don't need to be changed.
Gmail Outlook 2010 image18
  • The top folder - usually Personal Folders, Outlook Data File, or your email address - is selected automatically.
  • Include subfolders is selected by default. All folders under the folder selected will be imported.
  • The default selection of Import items into the same folder in matches the folders from the imported file to the folders in Outlook. If a folder doesn't exist in Outlook, it will be created.
  • Click Finish.
Gmail Outlook 2010 image19
  • You can check your back up data on outlook.
Gmail Outlook 2010 image20
  • And the very important thing is you have to delete your old POP account from the outlook, Otherwise they will continue to receive email in the old POP account.
  • Right click on your old POP account Remove it
Gmail Outlook 2010 image21
  • Now you can continue with the IMAP account.

Setting up your Sent folder properly

  • Open your IMAP account settings via: File-> Account Settings-> double click on the IMAP account.
  • other outlook 2010 image21
    other outlook 2010 image22
  • Press the button: More Settings.
  • other outlook 2010 image23
  • Select the Sent Items tab.
  • Enable the option Save sent items in the following folder on the server.
  • Select the folder where you want to store the Sent Items in.
  • other outlook 2010 image24