IMAP vs POP3 - How to Email in the 21st Century

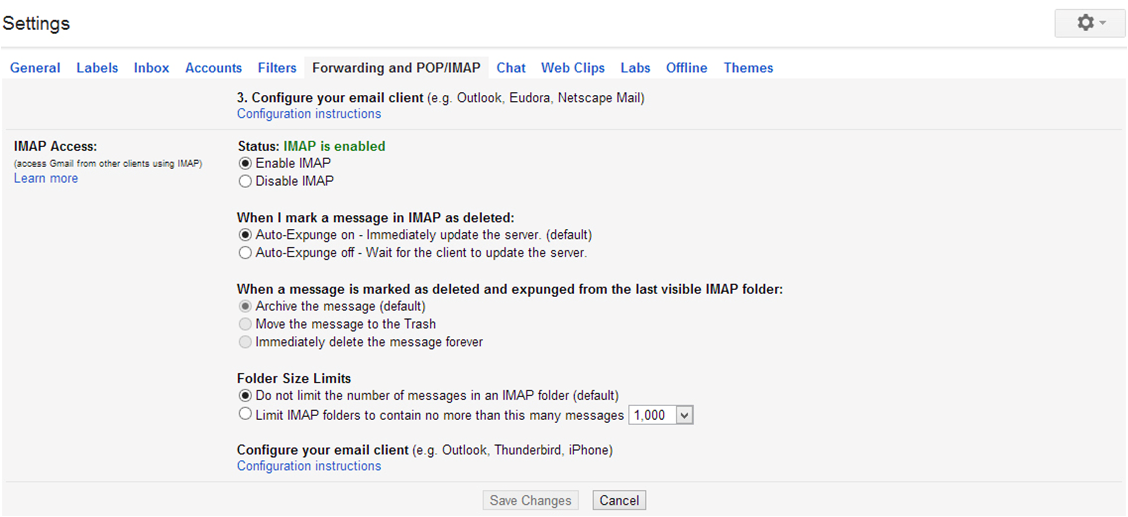
Log into your Gmail account and open the Settings page with gear icon. Click on the Forwarding and POP/IMAP tab and make sure IMAP is enabled and click on save changes.
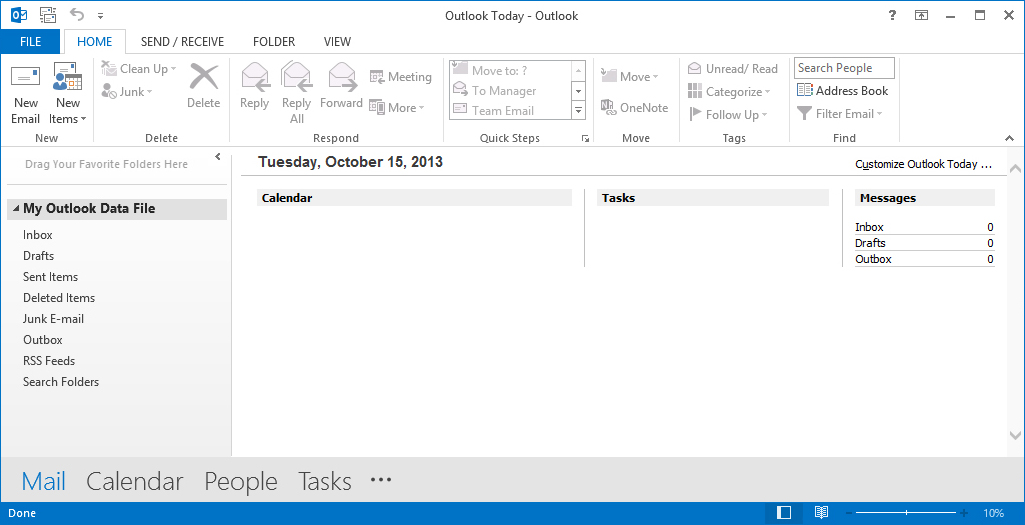
Open Outlook 2013 and go to File tab.
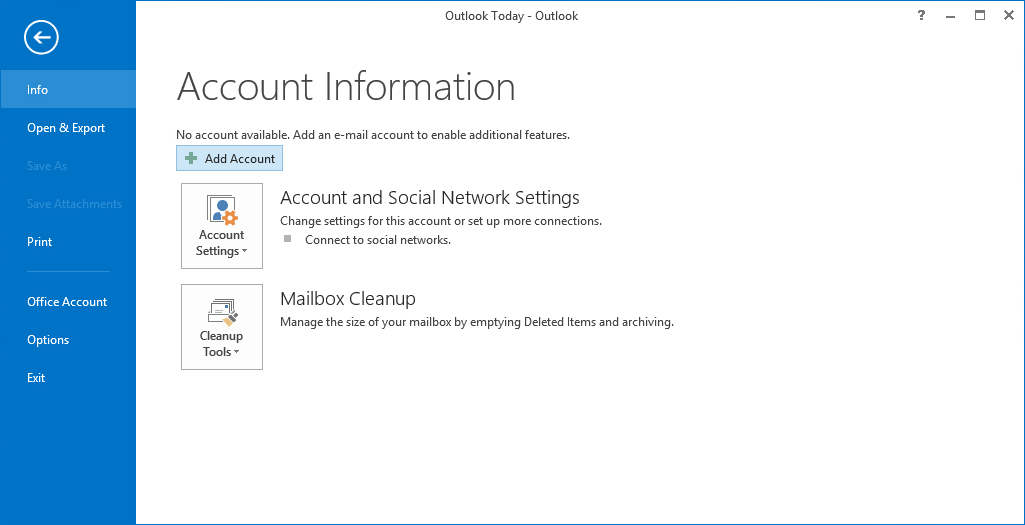
Then, just above the Account Settings button, click Add Account.
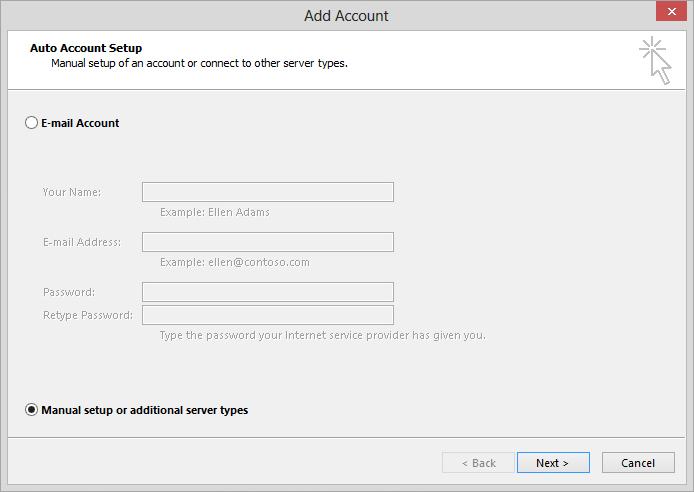
Select Manual setup or additional server types.
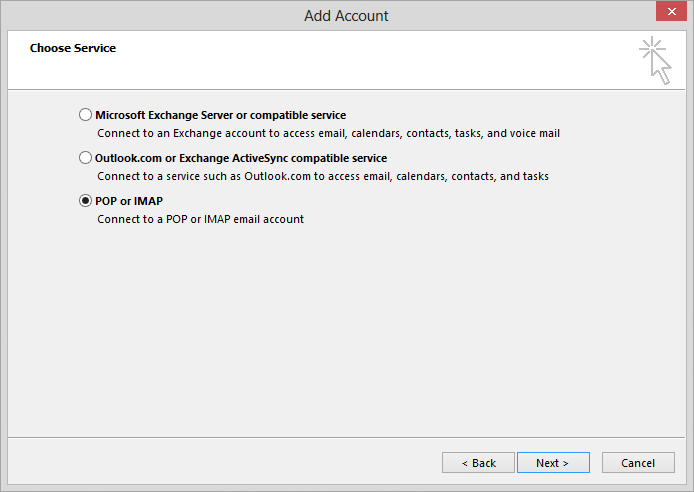
Then in Choose service select POP or IMAP
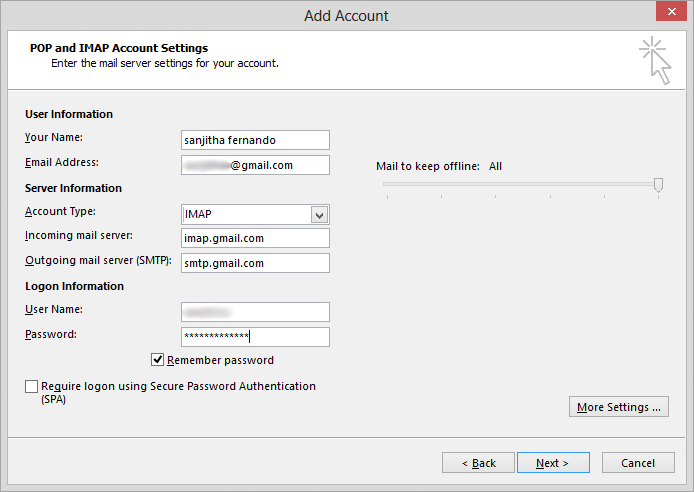
Add your user information and for server information,
Account type: IMAP
Incoming mail server: imap.gmail.com
Outgoing mail server (SMTP): smtp.gmail.com
Then add your logon information as below.
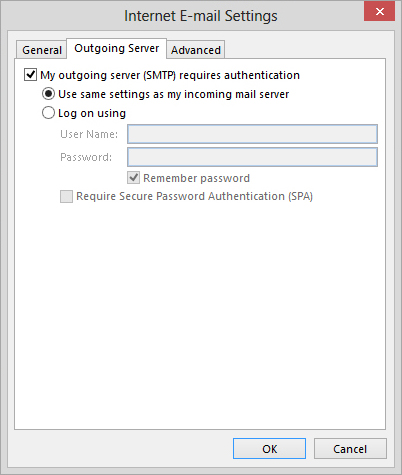
Go to More settings and select the Outgoing server tab.Check box next to My outgoing server (SMTP) requires authentication and select the radio button next to Use same settings as my incoming mail server.
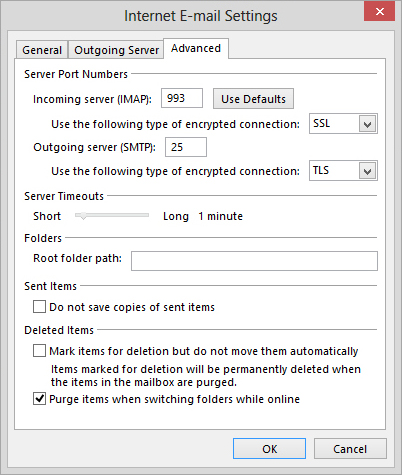
In the same window go to the Advanced tab and verify the following.
Incoming server (IMAP): 993 or 143
Incoming server encrypted connection: SSL
Outgoing server (SMTP): 587 or 465
Outgoing server encrypted connection: TLS
Click OK when finished.
Click Next.
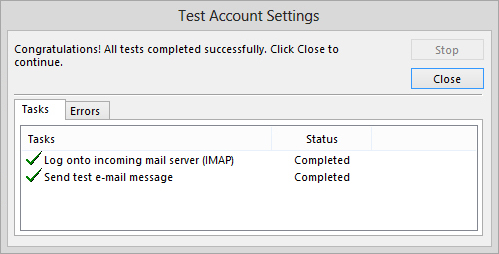
If you've entered everything correctly, both tasks will be completed successfully and you can close the window and again click Next.
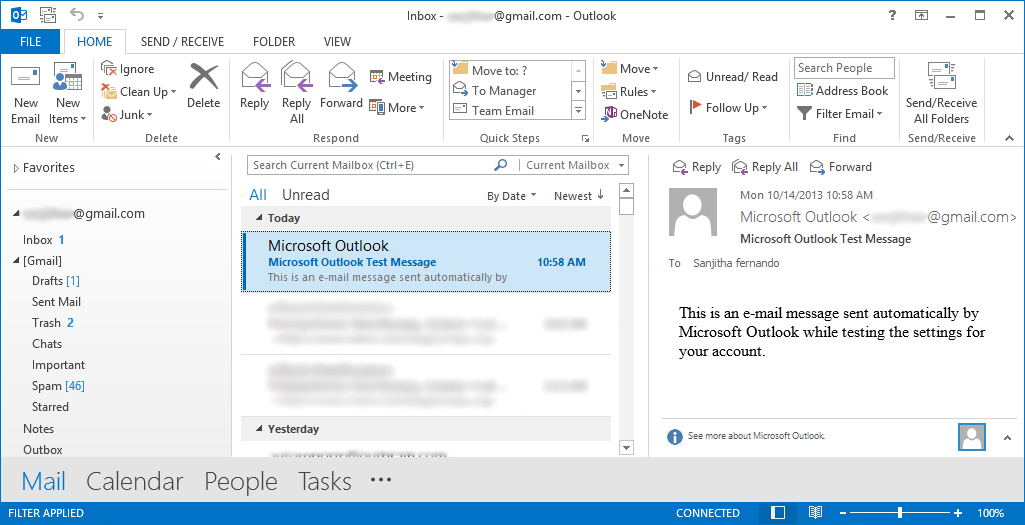
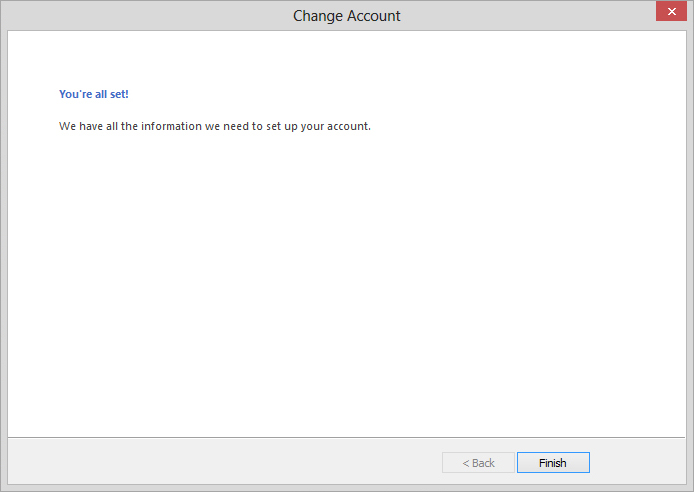
You'll get You're all set! message,
Click Finish.
And now you can check your emails through Outlook.