IMAP vs POP3 - How to Email in the 21st Century


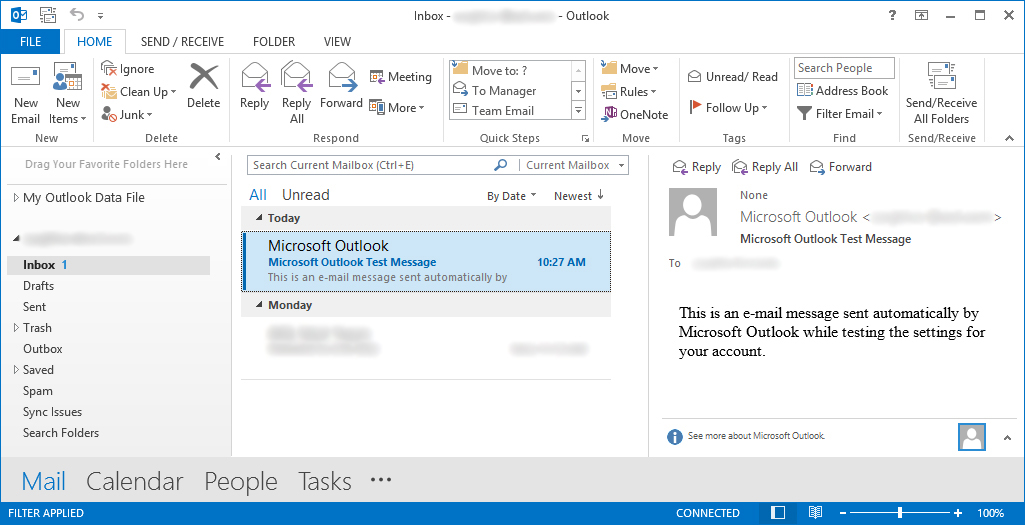
Open Outlook 2013 and go to the File tab.
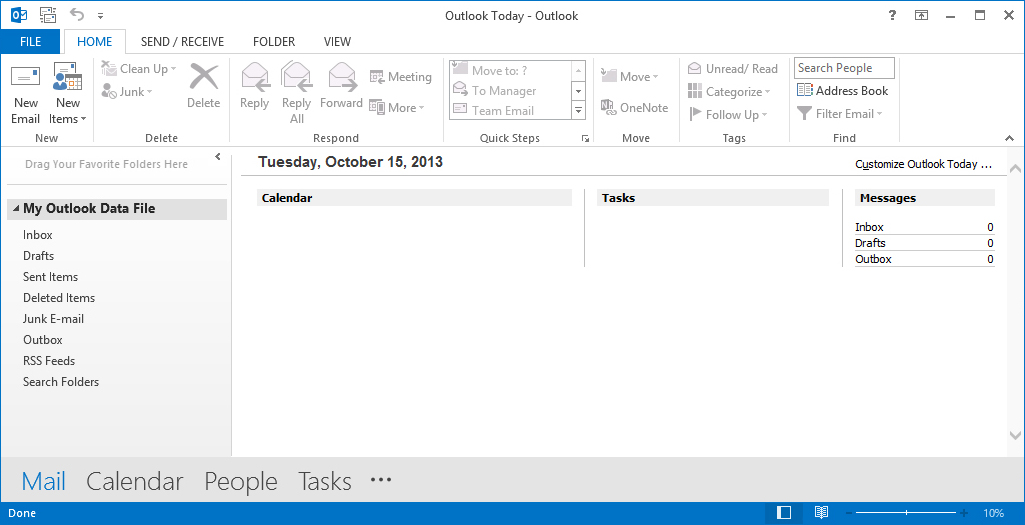
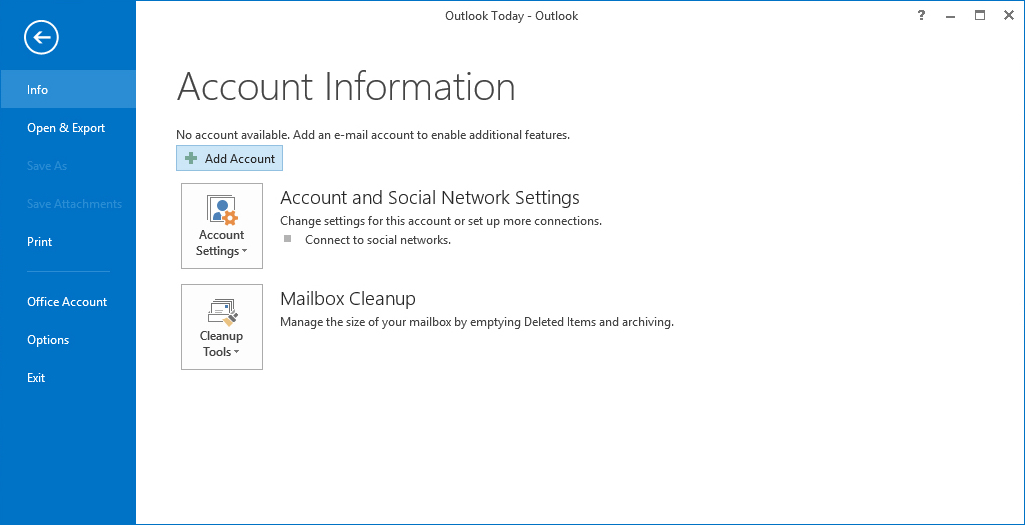
Then, just above the Account Settings button, click Add Account.
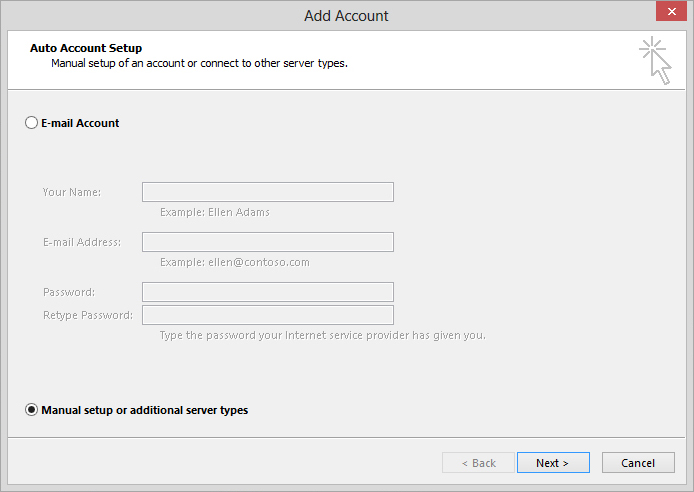
Select Manual setup or additional server types.
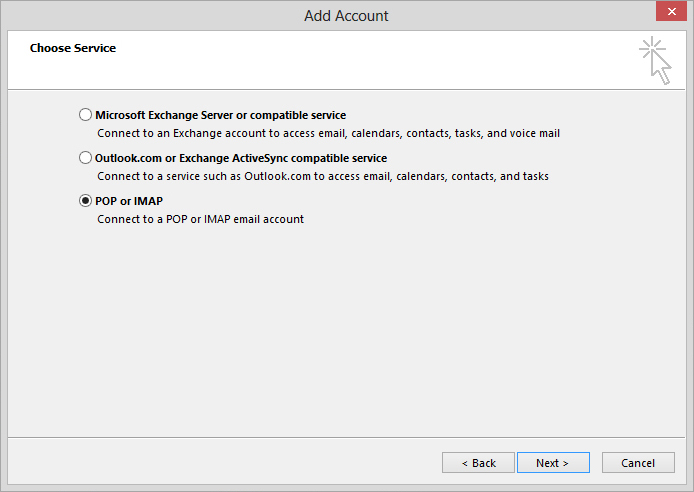
Then, on the "Choose Service" step, select POP or IMAP
For corporate or custom domain email hosting, your IMAP (and outgoing SMTP) mail server info should be available from your email administrator or your email hosting support site.
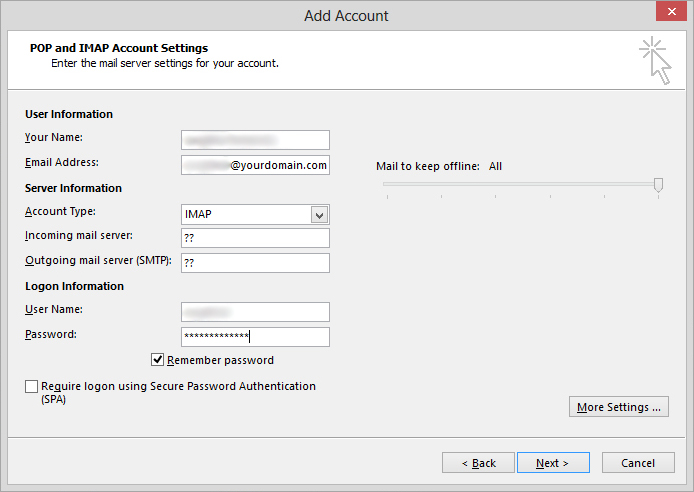
Or, simply go to http://www.sanebox.com/ and type your email address in and start the signup process.
The initial signup step may be able to help. Often it automatically locates and shows your mail server info.
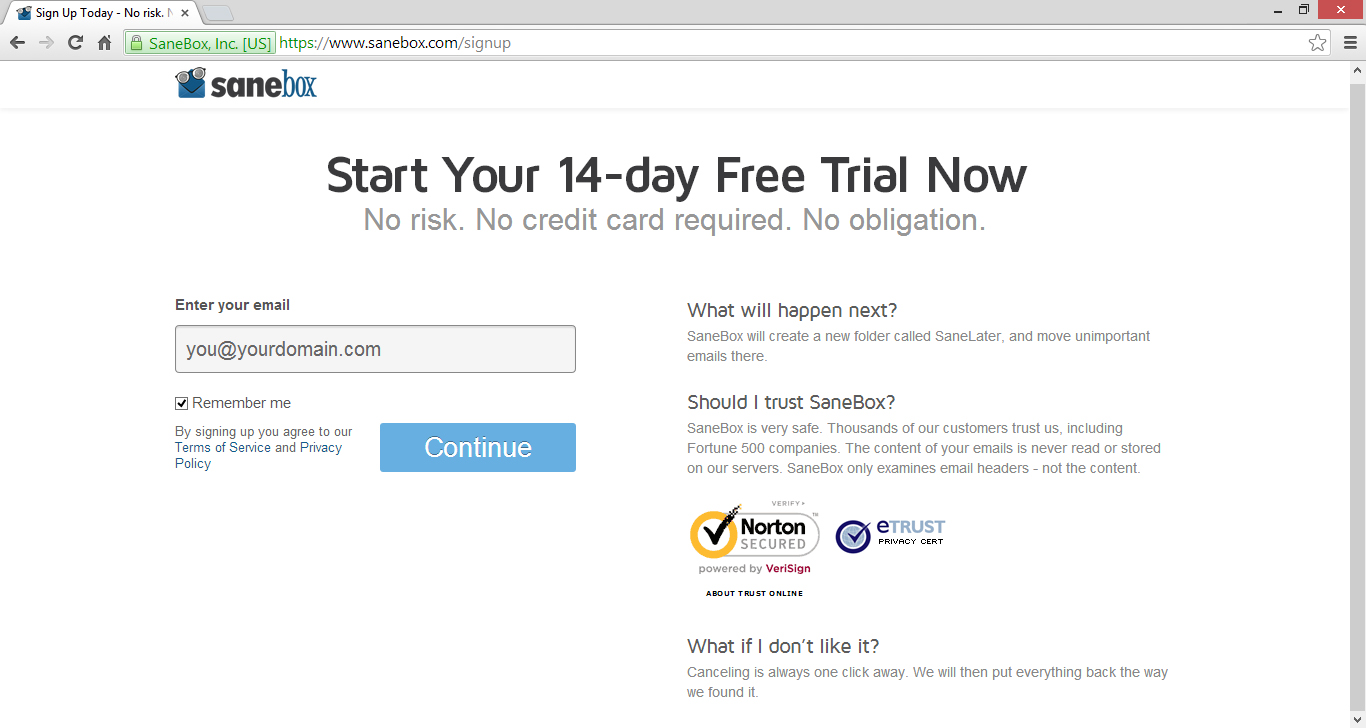
Now you'll need to manually enter in the settings (what you got from your email administrator or hosting help resources or from the first step of SaneBox signup).
Use the More settings button to get to the next screen shown below.
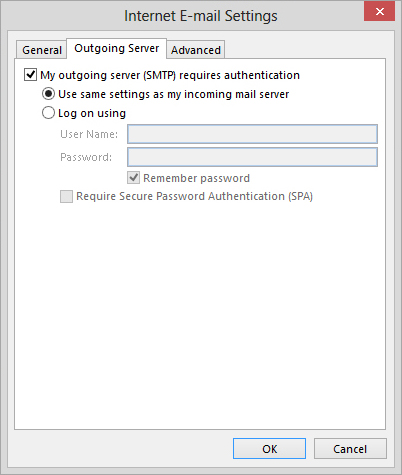
Start by selecting the Outgoing server tab. Mark the box next to My outgoing server (SMTP) requires authentication and select the radio button next to Use same settings as my incoming mail server.
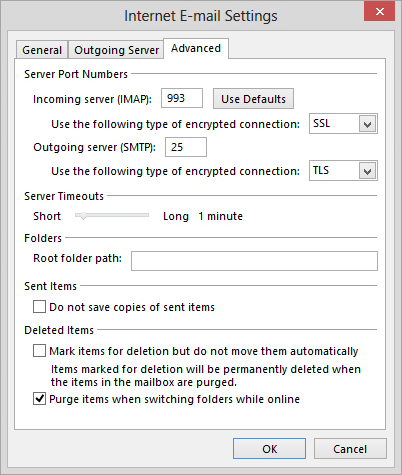
In the same window go to the Advanced tab and complete the following. The example details below are fairly standard, unless you have been advised differently.
Incoming server (IMAP): 993 or 143
Incoming server encrypted connection: SSL
Outgoing server (SMTP): 465, or 587
Outgoing server encrypted connection: Auto, or TLS
Click OK when finished.
Click Next.
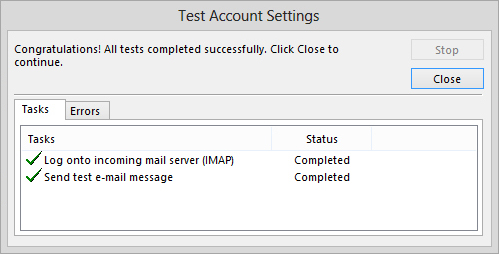
If you've entered everything correctly, both tasks will be completed successfully and you can close the window and again click Next.
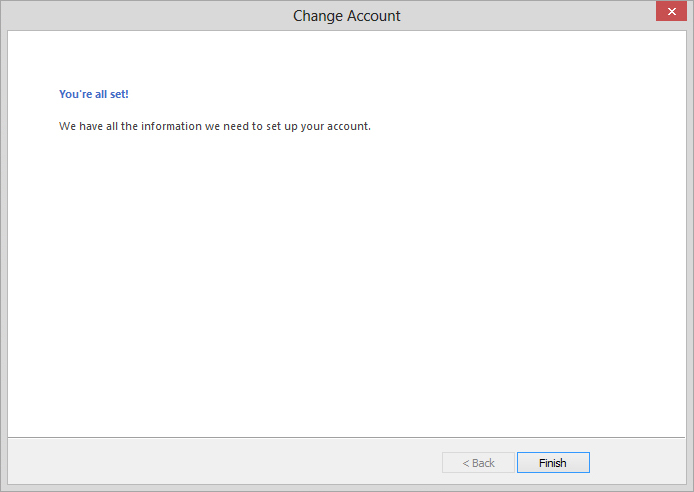
If all is well, you'll get the reassuring "You're all set!" message at this final stage,
Click Finish.
And, now you can check your email through Outlook with the added power and capabilities of IMAP.
